How do I remove the keys so I can replace some of them?
Thanks
You can’t just replace “some” of them - keys come in sections, each section is made up of 4 white keys (CEGB), on top of that click 3 white keys (DFA) and on top of that click in 5 black keys (C#, D#, F#, G#, A#). Some times the part number is being changed (for some reason) and then the sections change to (GBCE) and (ADF) and (G#, A#, C#, D#, F#) in which case ALL keys have to be changed.
To change, remove all screws from bottom - then you can tilt up the top and get access to the keyframe., Now remove more screws from top of keyframe to be able to remove it from bottom section.
Now remove all screws pertaining to section to be replaced - or all screws if all sectons have to be replaced.
Re-assemvle backwards
NOTE:
Make sure to insert screws into same thread - if you miss the thread you cut a new one - you only got ONE chance else the thread will no longer hold as it will be cut out with the new over-cut.
1 Like
I take advantage of the same subject on EZ 30 to ask how to reconnect the cables because no key responds during reassembly (no sound). There is no numbering on the printed circuit strip receiving the keys so that I can insert the cables in the right direction. Thanks !
1 Like
Were you able to replace key sections?
Hello ! Unfortunately no. I tried several combinations changing position each time but still nothing. There is no sound, no noise, no interference from the speakers, is this normal? Could the problem be with the motherboard? I can’t find any YAMAHA EZ-30 synth diagram on the net. What should I do ? Thank you.
Were you getting no sound before you took the keyboard apart? On the ribbons, I believe where it has the colored stripe on one end that is pin 1. Match it up on the connector where it is marked 1.
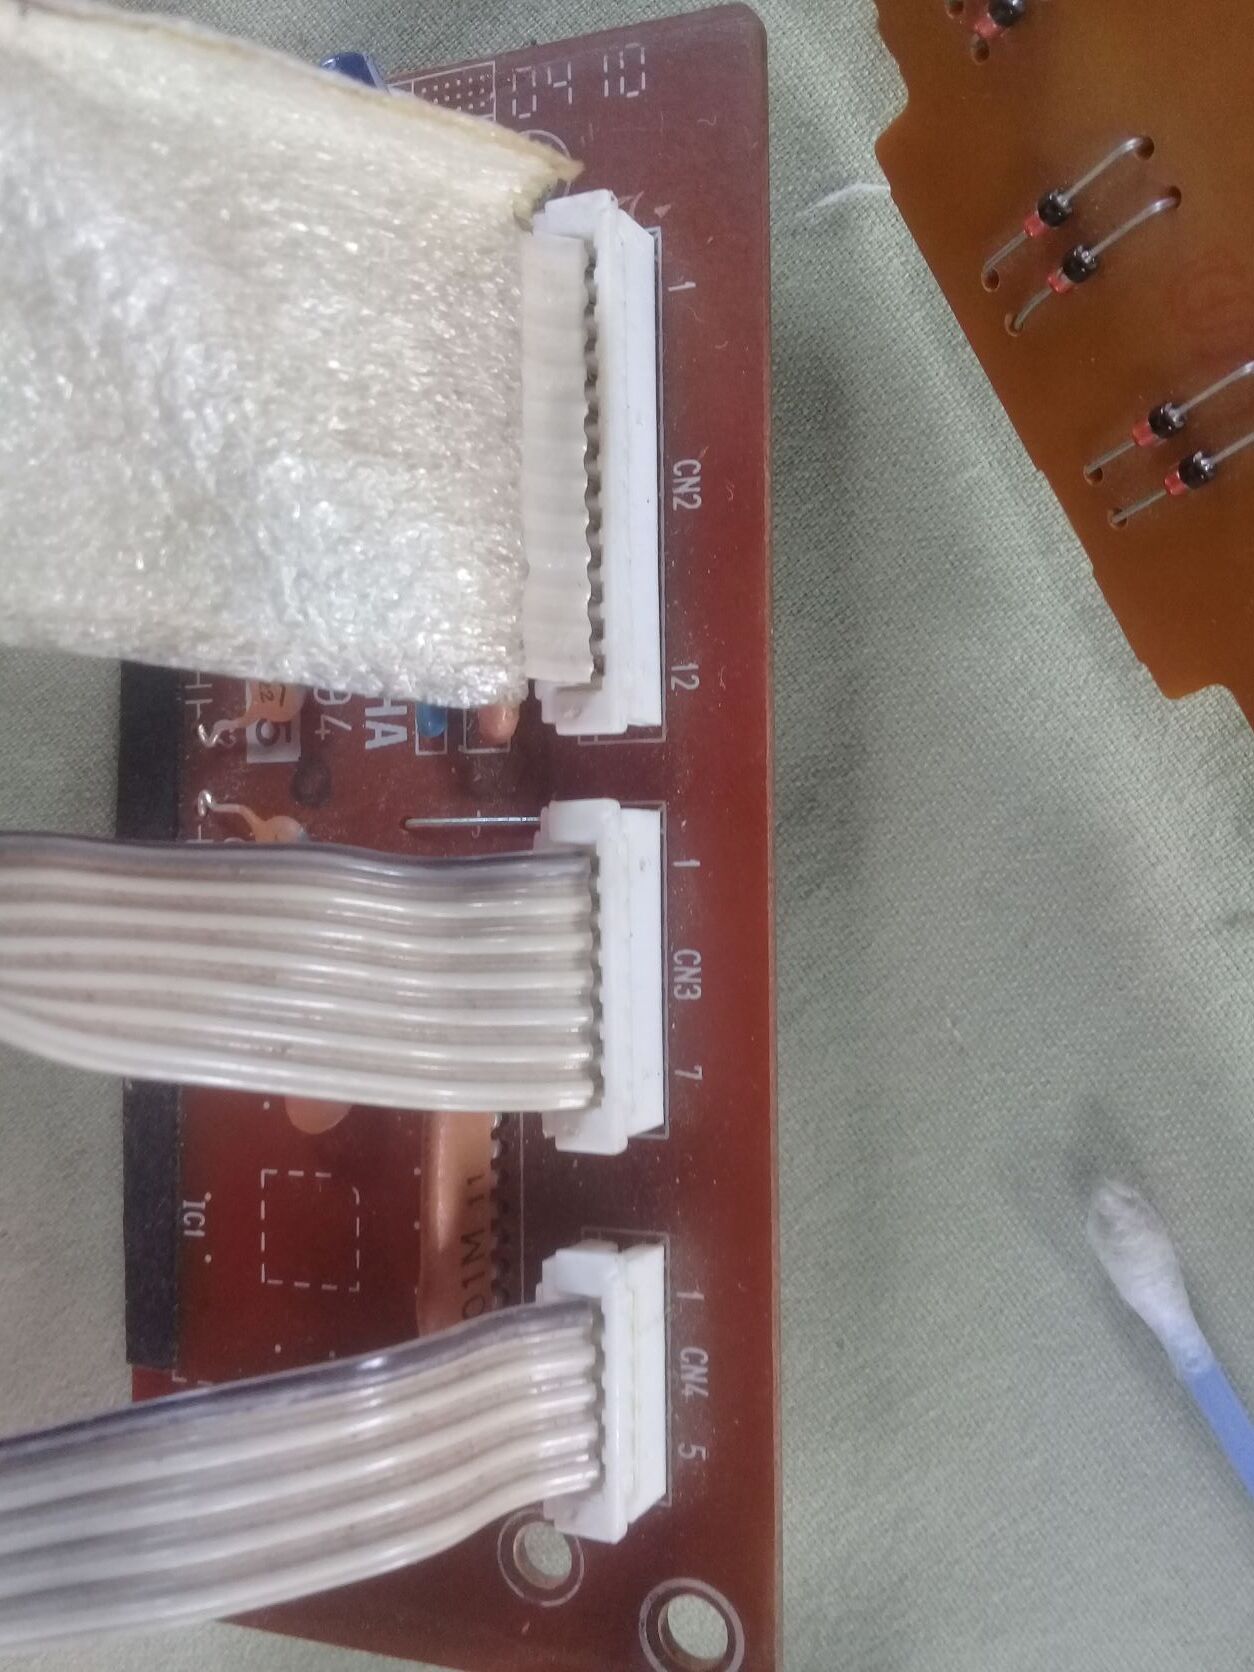
Before disassembly, there were only a few keys that did not work. That’s why I took it apart to check and clean. After reassembly, no sound is produced. Indeed, the connectors coming from the motherboard and on the printed circuit are numbered from 1 to the numbers of feet. It is on the printed circuit of the keys that there is no sign, neither on the face nor on the side of the welds. I summarize the binding of the tablecloths:
- Motherboard: start 01 cable numbered from 1 to 6
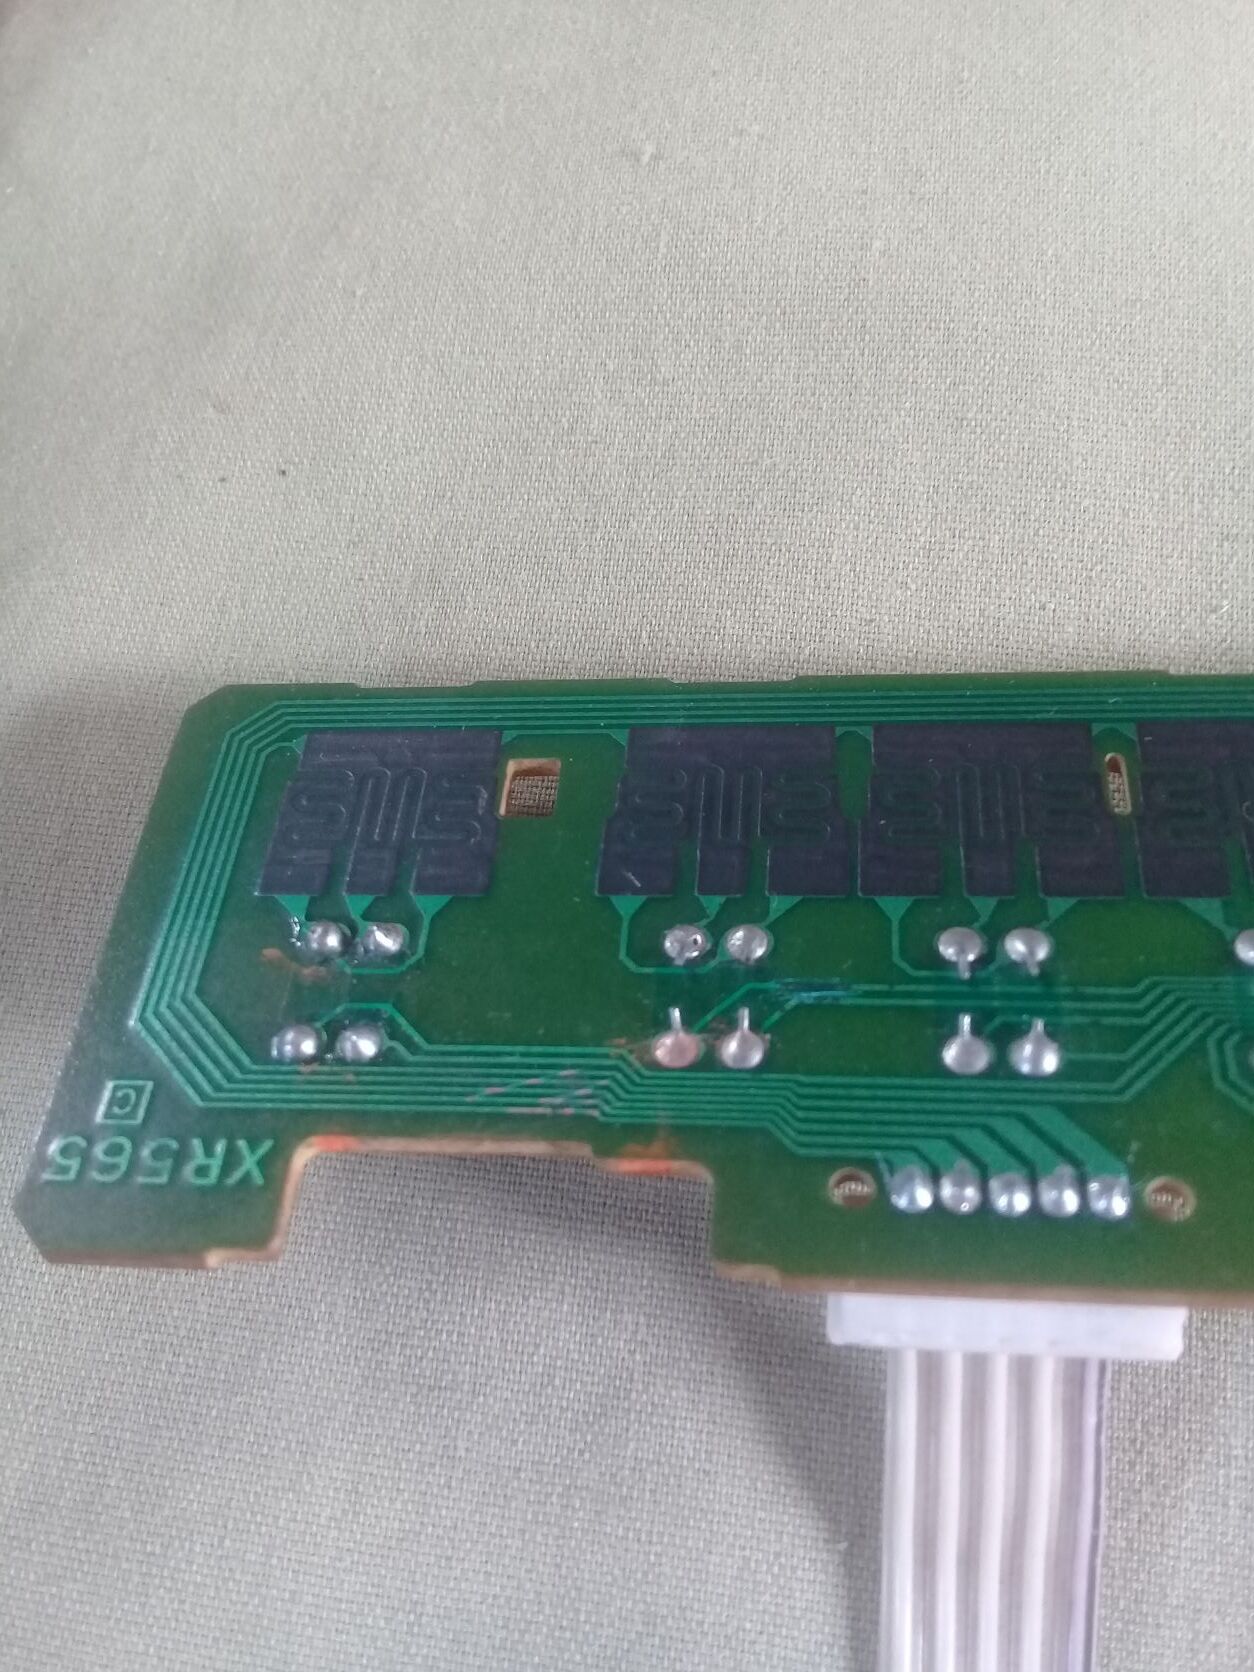
- intermediate printed circuit (MKS5) receiving the 6-foot tablecloth coming from the motherboard and 03 numbered sheets (5, 7 and 12 feet) exiting towards the circuit strip containing the 61 keys.
- key circuit strip receiving the 03 layers above but no indication of number either on the face or on the front or on the back.
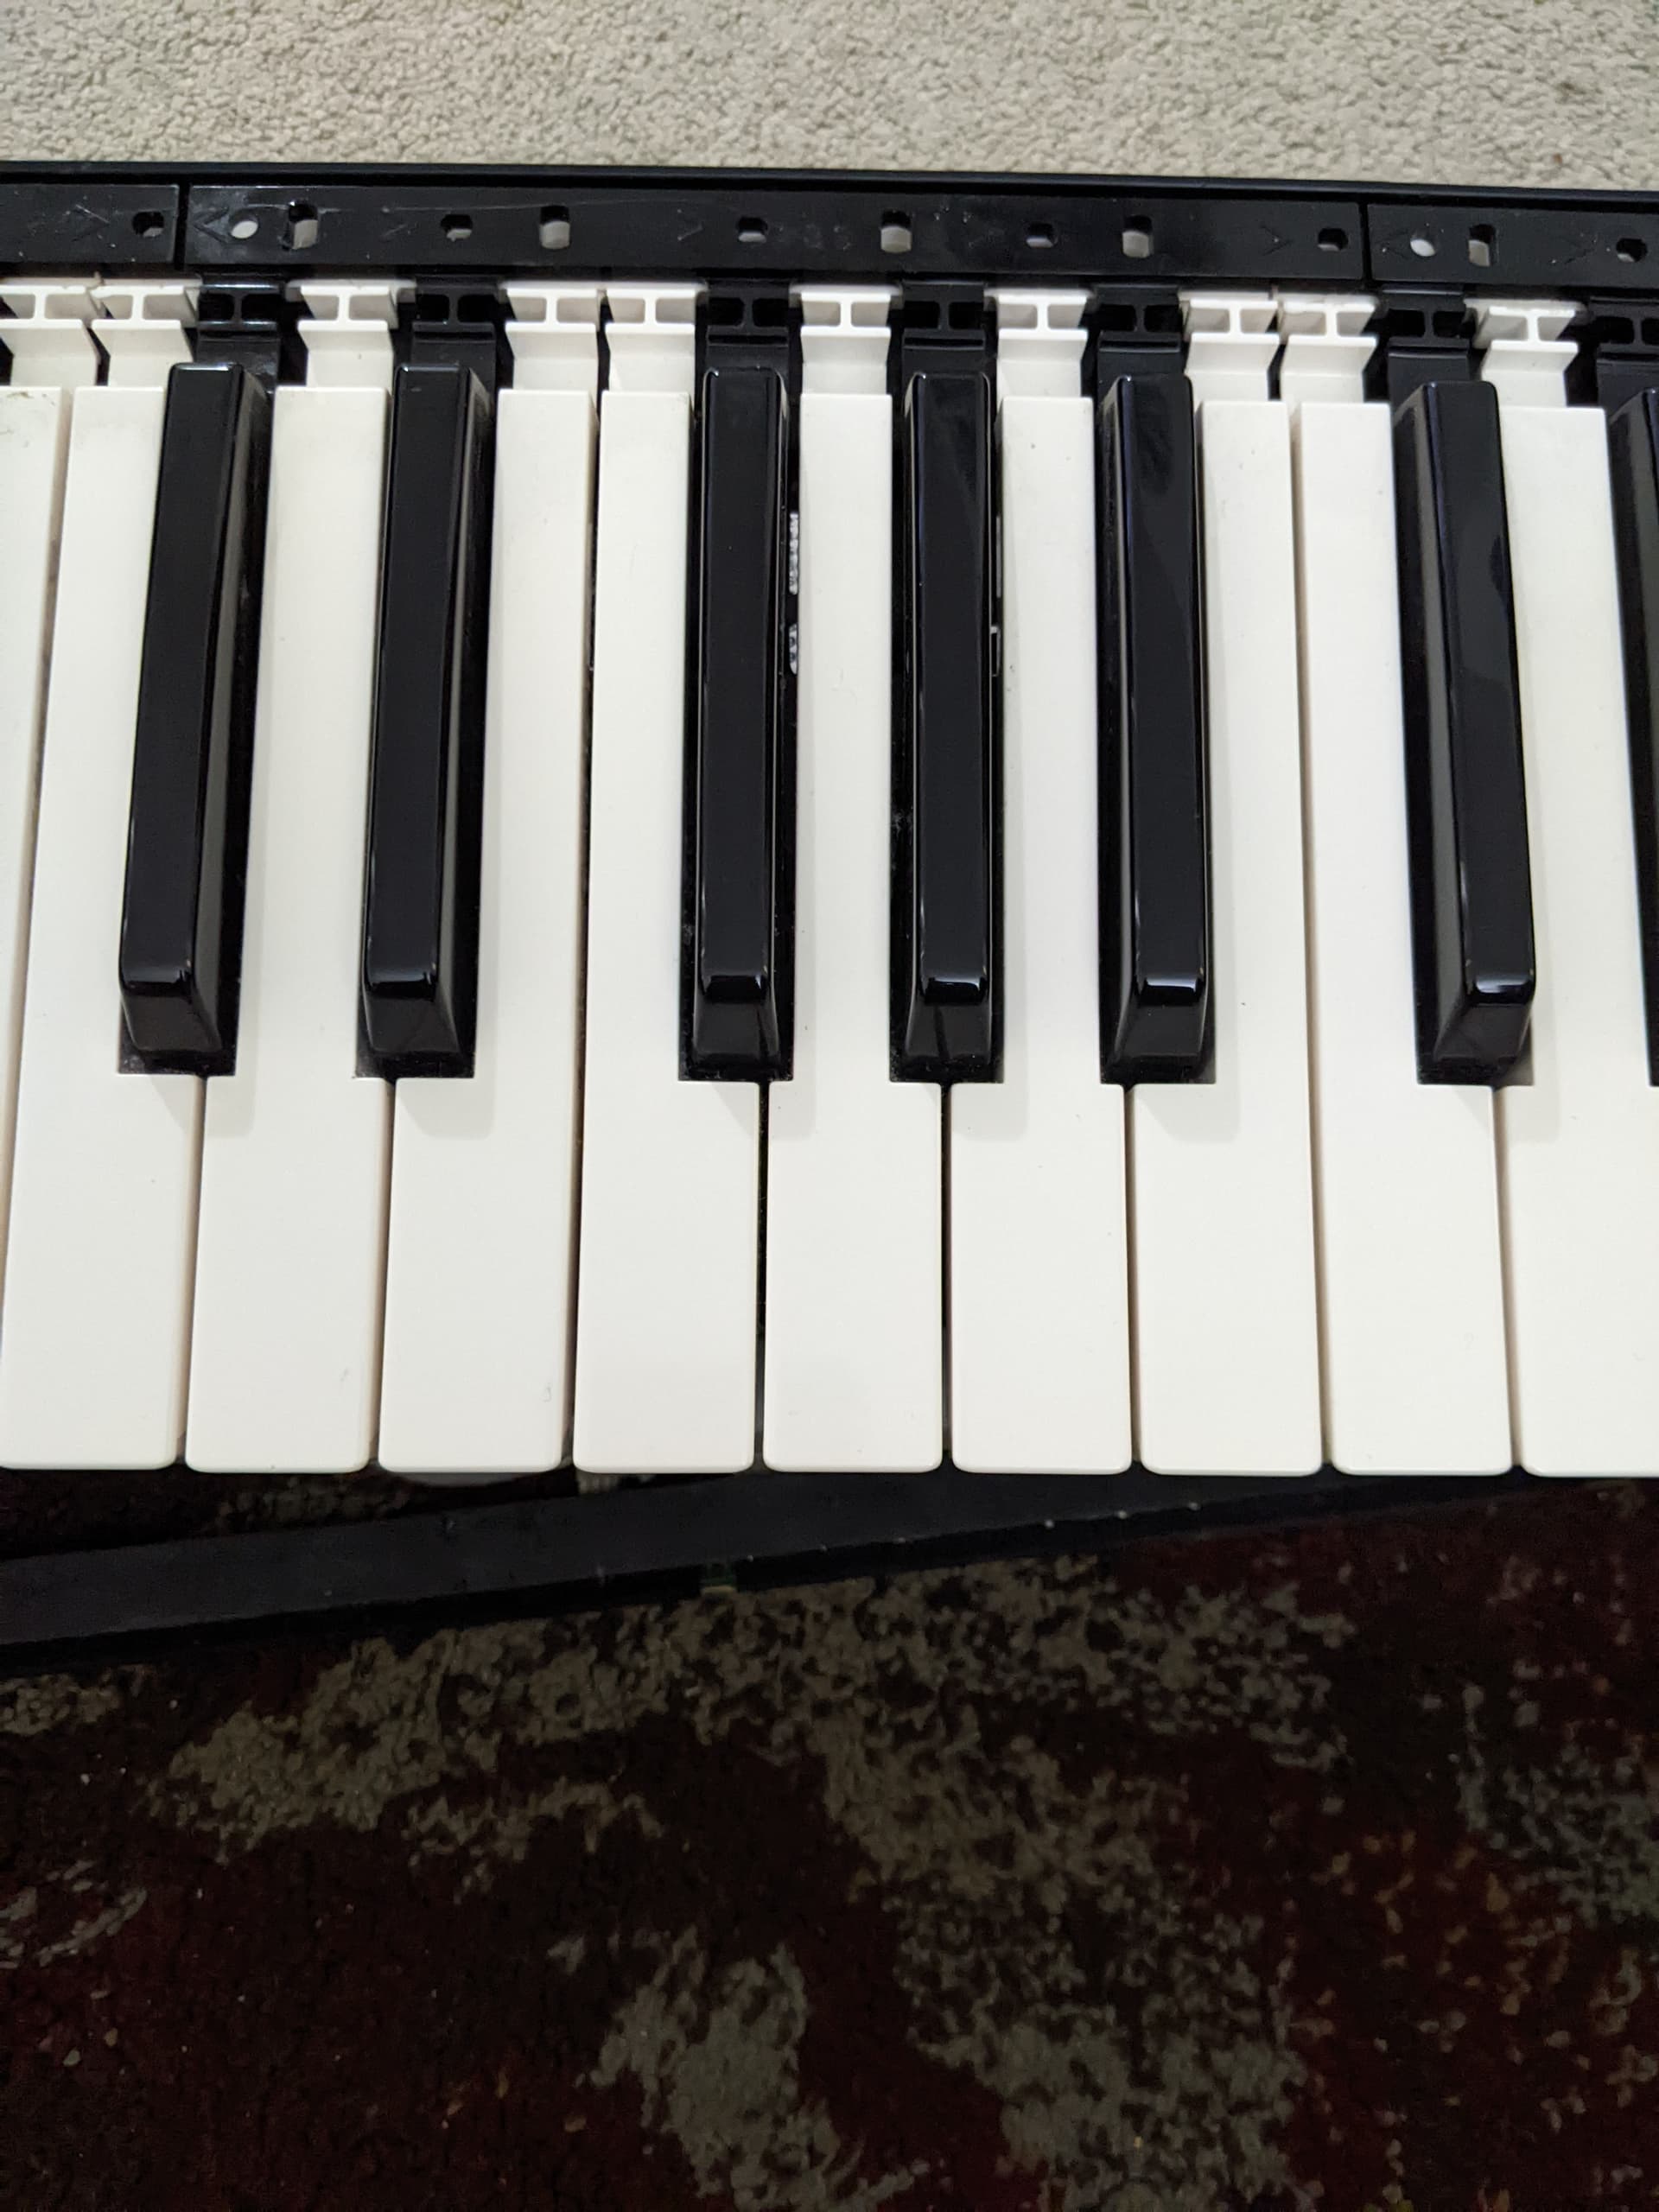
I’ve gotten this far in the disassembly. I’m not sure how to take off the key section from here to replace that section of keys. I had one key that stayed down and would not play.
Almost there - keys come in entire sections 4 white keys on top of which click 3 white keys on top of which click the 5 black keys.
Lift the entire section at the back , I usually start from one end as is easier, then move it slightly forward to release the keys from the upper stop and there you go.
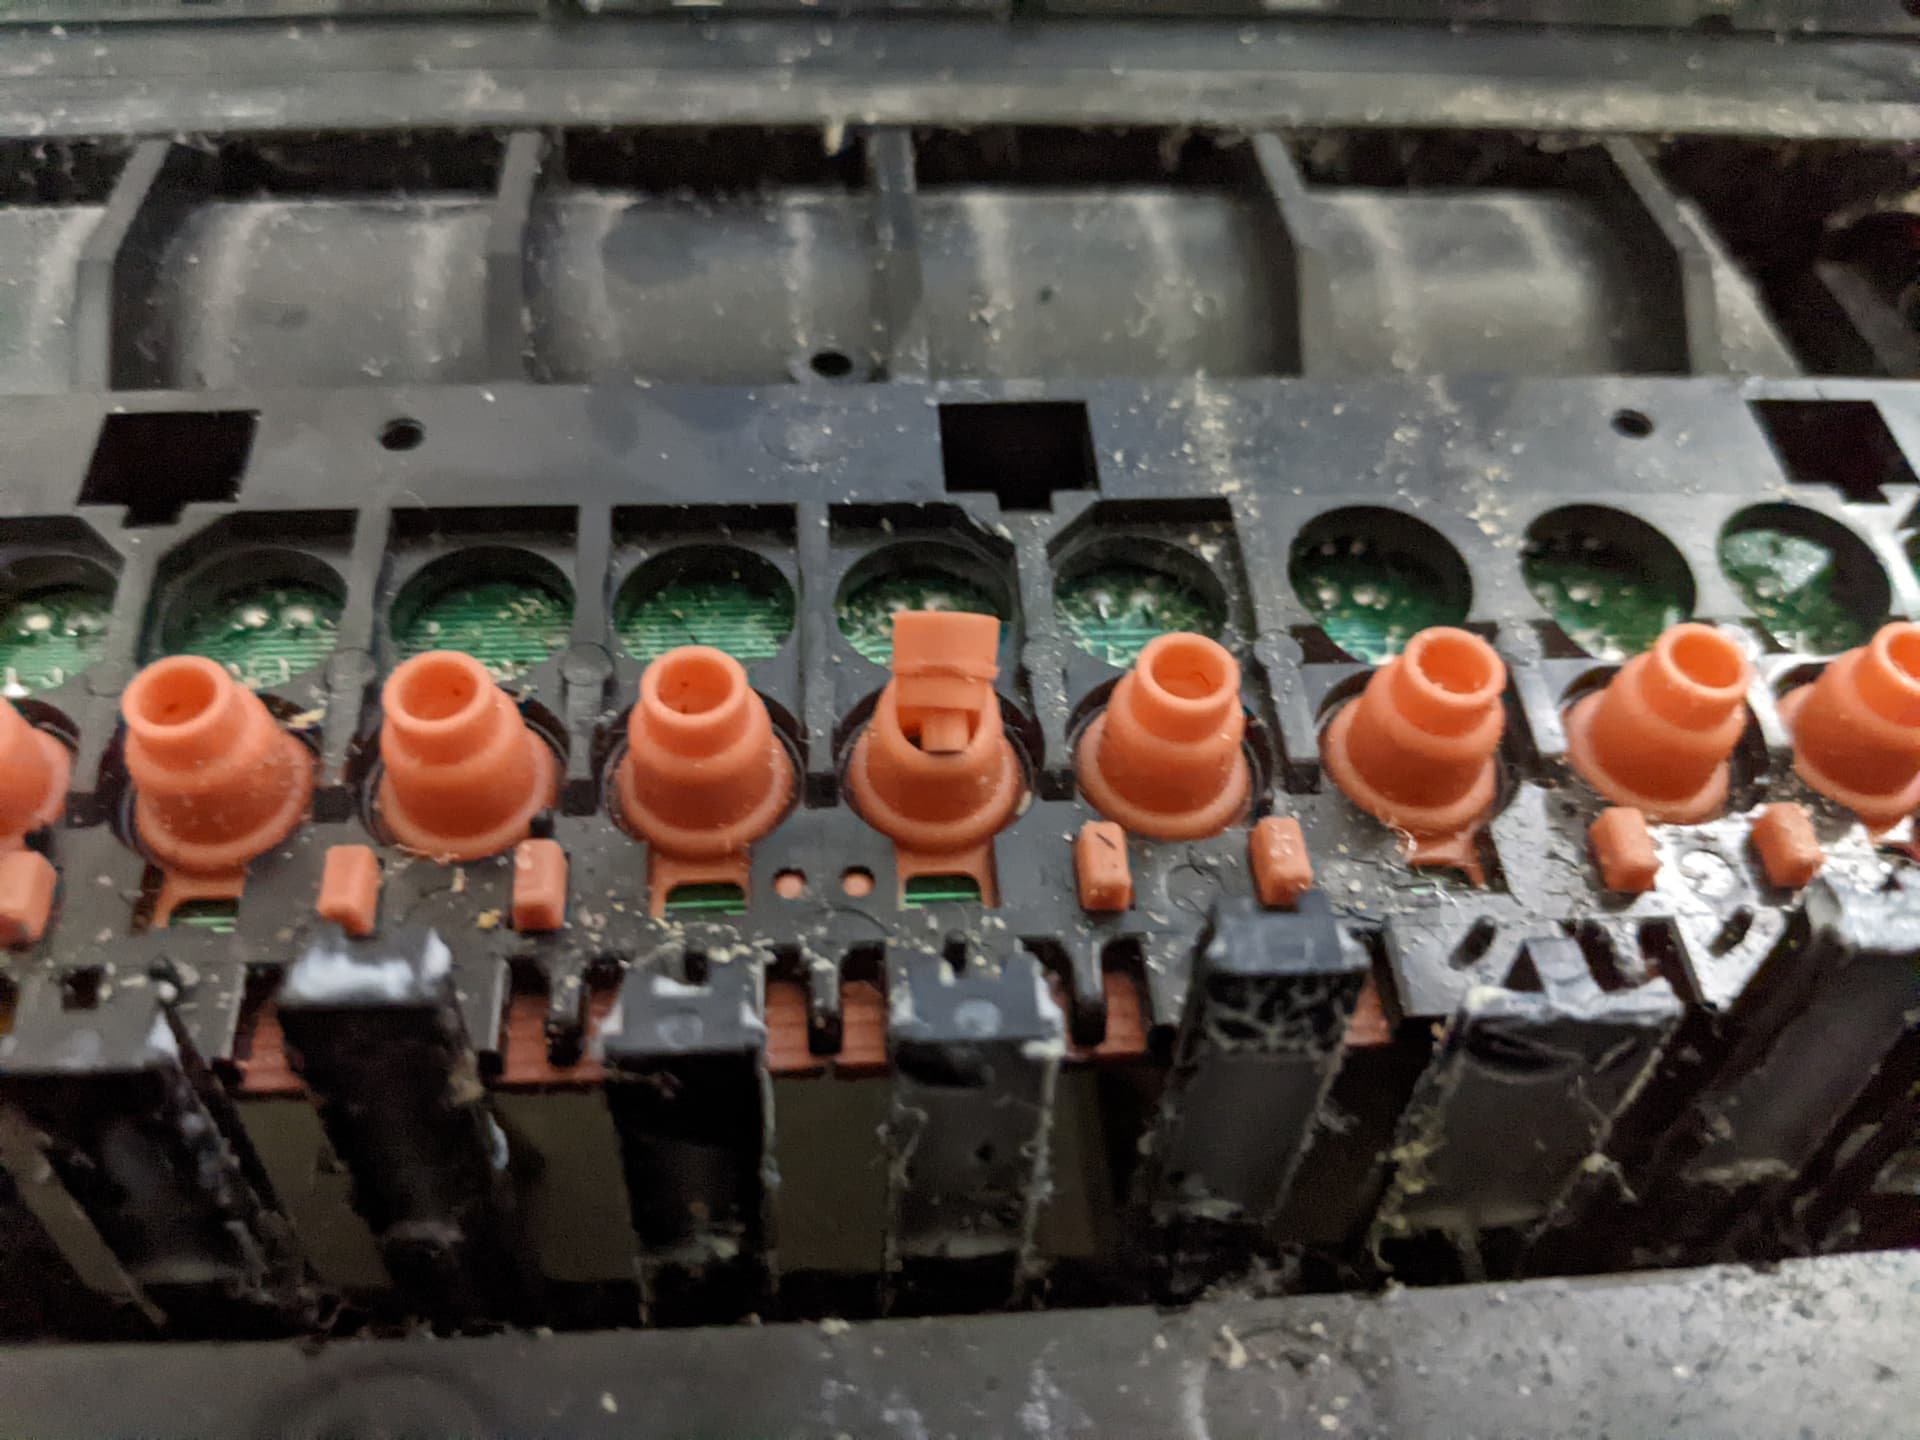
Ok, I got it off. On the bad key I noticed the piece is torn. Is there a way to replace that. Would super glue be sufficient?
Ahmmm - NO. It’s SILICONE based and no glue will fix it - you need to remove the circuit board from underneath those rubber contact strips (the other side of the key frame) and replace that broken strip.
YAMAHA Part # is VU328400 and called “Rubber Contact” and you can get it from here Yamaha key contact SET 5x12 PSR CS1X CS2X VU328402 VU32840R VU328401 VU328400 | eBay
Whilst you wait for replacement you can “shift” it to the left or right hand end for the time being.
Thanks for your help!