The lowest 9 keys on my YPG 235 keyboard stopped working. I cleaned the contact strip. Still no sound everything else works fine. Should I replace the Contact Circuit board or Is there something else I can try first?
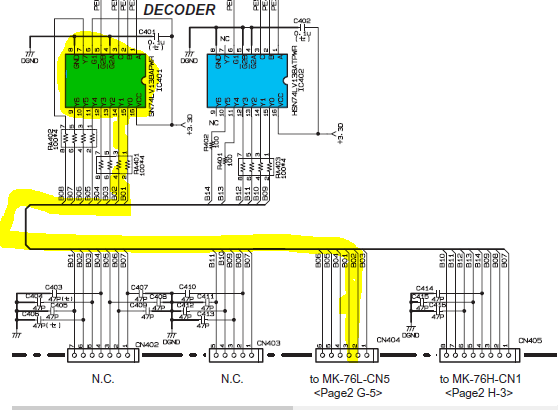
Check with Ohm meter B01 and B02 on the left circuit board between the connector and contact. Most probably a corrosion some place (in my experience dust and humidity causing a fungus under the lacquer or some food rests).
Depending on the overall condition of the board - may be easier to just replace it.
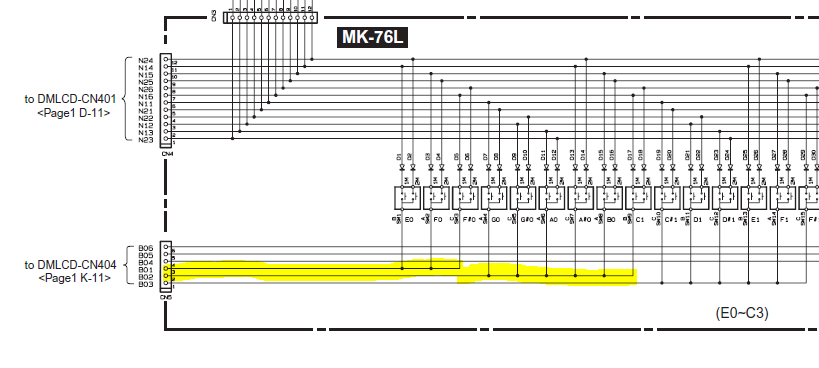
In the unlikely event that both check out OK then is on the DMLCD board where these lines connect to
Thank you for your reply. Can you show me a picture or explain exactly where to place the probes on the circuit board to check between the connector and the contact? I am a novice using an analog voltmeter.
That’ll be a mission for you - OK here we go:
You need to take the key board frame out to start with.
NOTE:
Keep track of various screws as they are not all the same.!!
-
Turn the keyboard upside down onto a soft surface and remove all the bottom screws, lift the bottom and detach any cables.
-
Now remove all the screws that hold the keyboard frame down.
-
Remove the keyboard frame and put on a flat surface with keys up (as you would play it)
-
Remove all the screws along the top edge of the keyboard frame that hold down the key sets - the key sets come in packs of three - 2 white and one black
-
Remove the keysets left to right until the left board is completely visible - the top black part clips into the frame. Unclip - lift the back all 3 at the same time and move towards you .
-
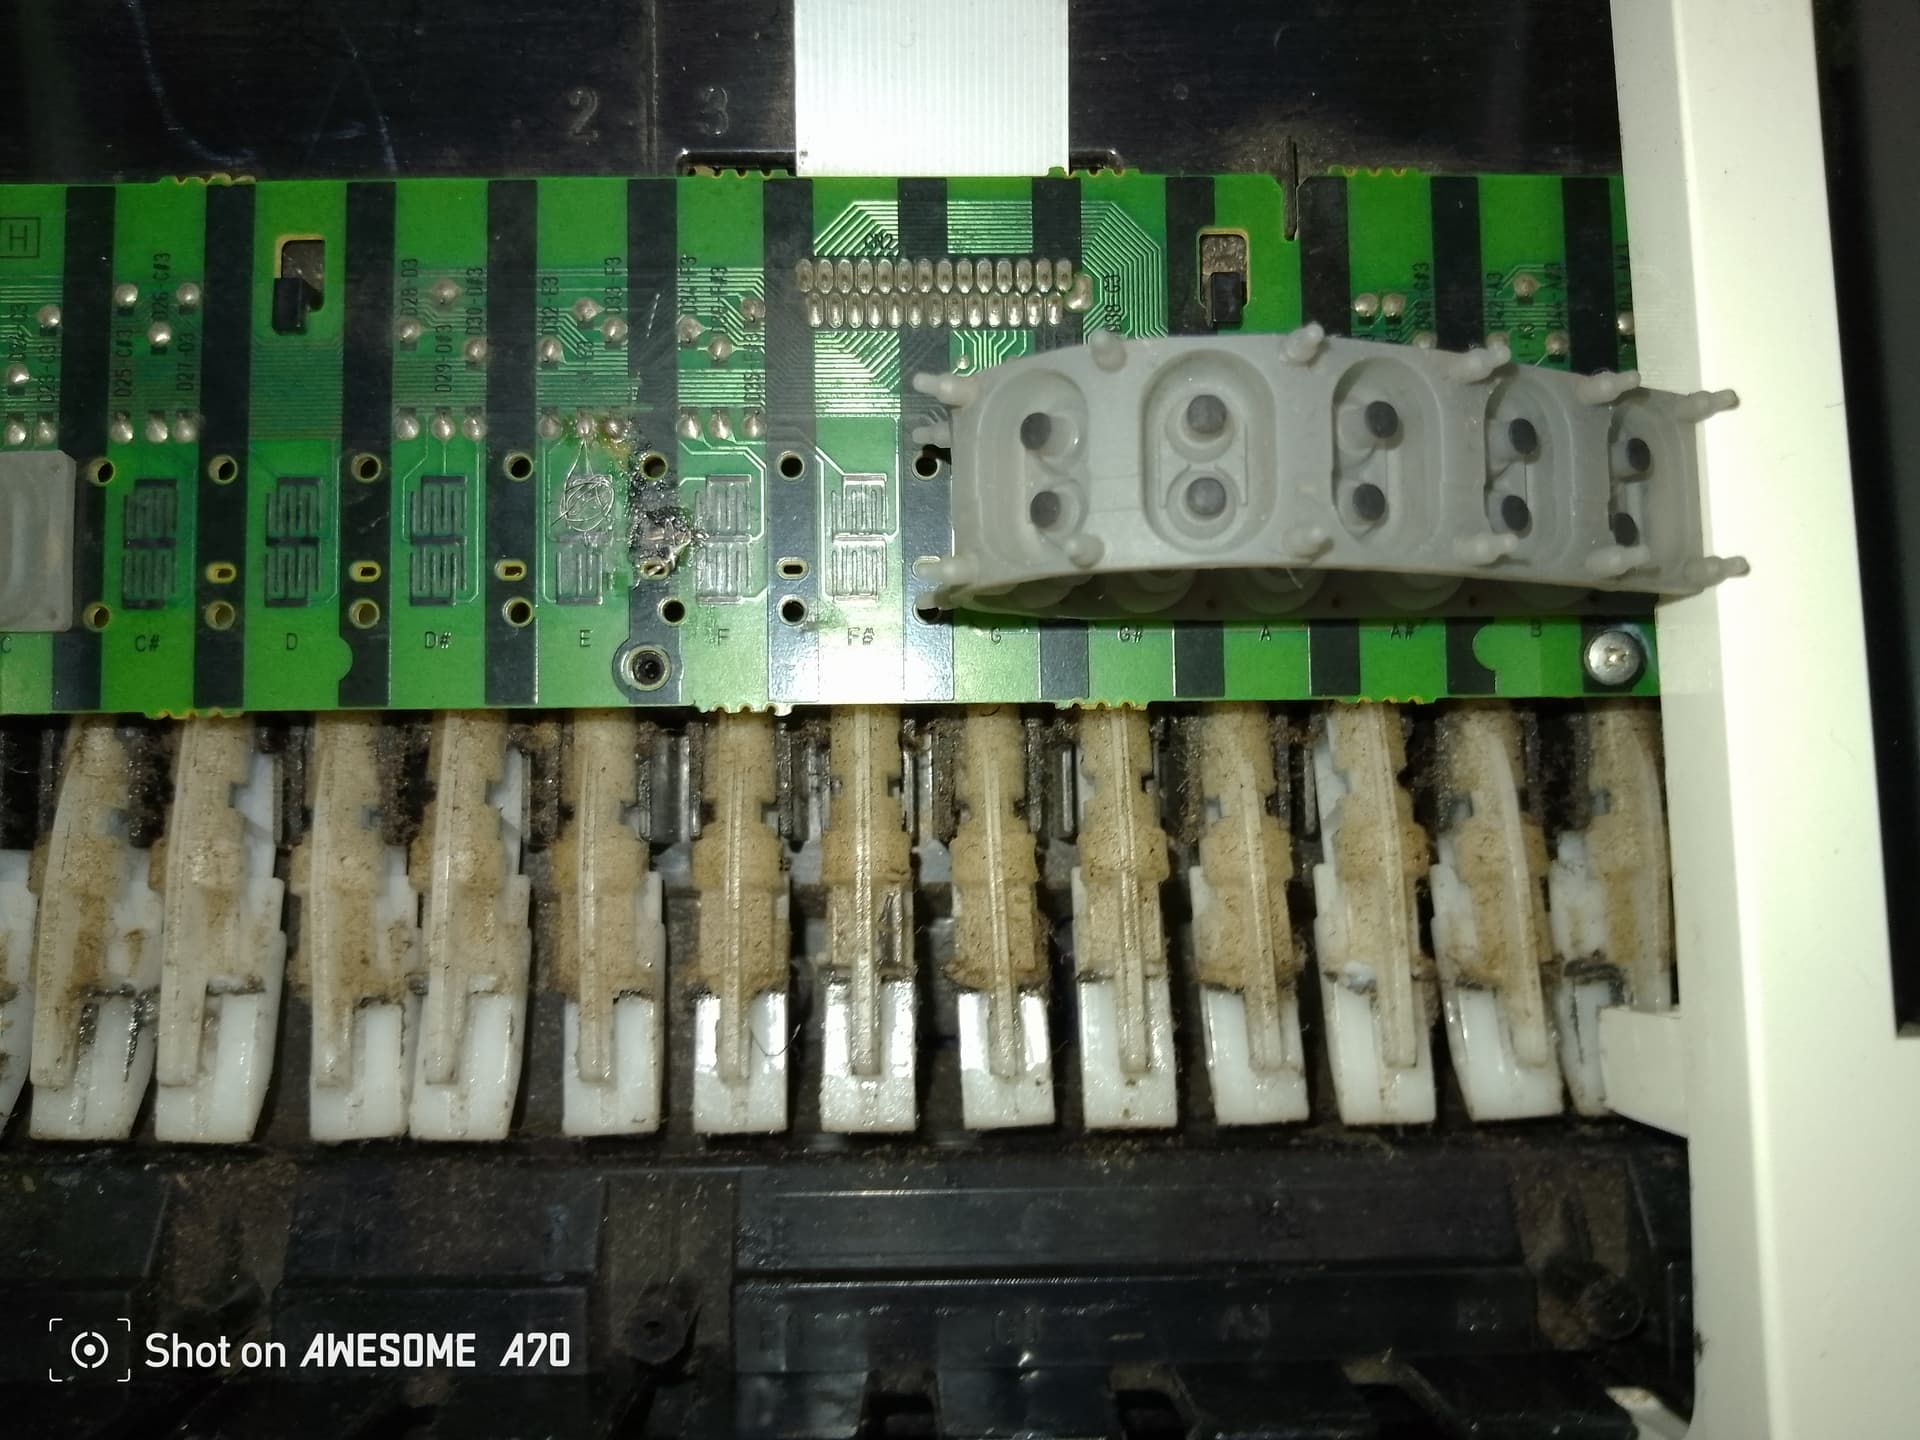
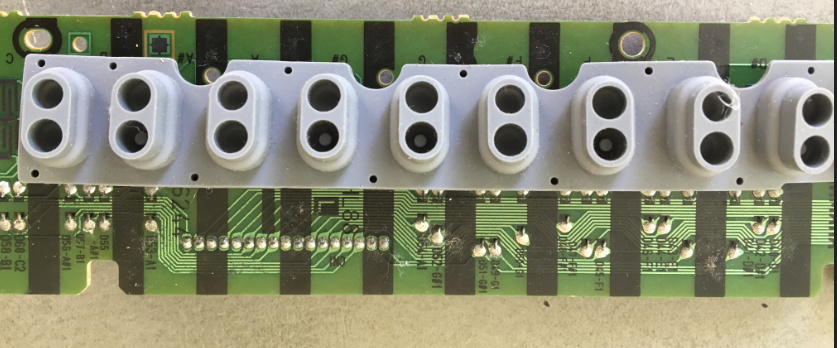
Now you can see the contactor boards - I haven’t got the same set at hand right now but looks similar this.
-
Now remove the rubber strips - they are holding down a little as the rubber nipples go though the board. You only need to do the left (or LOW) board …
Now you see this:
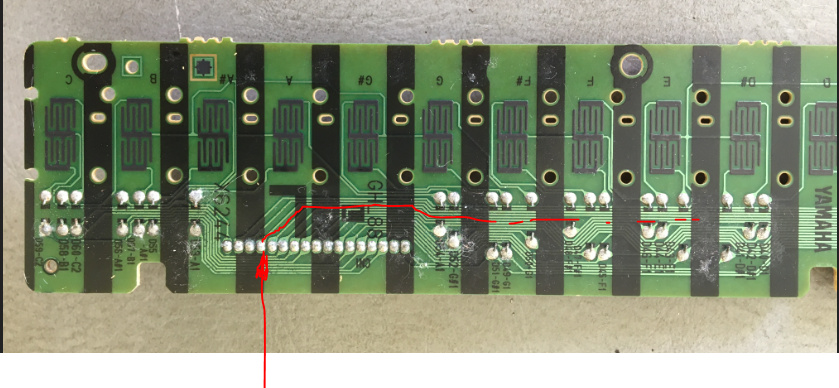
- You now have to find the pin number on the connector (red arrow) and follow the track until you get to a first contact (in your case will be one of the black contacts that look like interwoven E’s). Measure with the DMM - should be 0 Ohm. If your DMM has a mode where connecting the two probe pins is getting you a “beep” - that’ll be even easier.
NOTE:
sometime you can actually see the problem on solder joints being corroded and green/brown or tracks being no longer bright green but rather black - this is sort of a fungus growing underneath the lacquer eating away the copper.
If you can see the problem and re-solder it - bingo (hopefully) … if the tracks are “eaten away” by that fungus you will need a new board - in your case not fixable.
Let’s go from here …
(Hope I didn’t scare you too much)